How to install a split rail fence
Authored by Carol J. Alexander
Authored by Carol J. Alexander
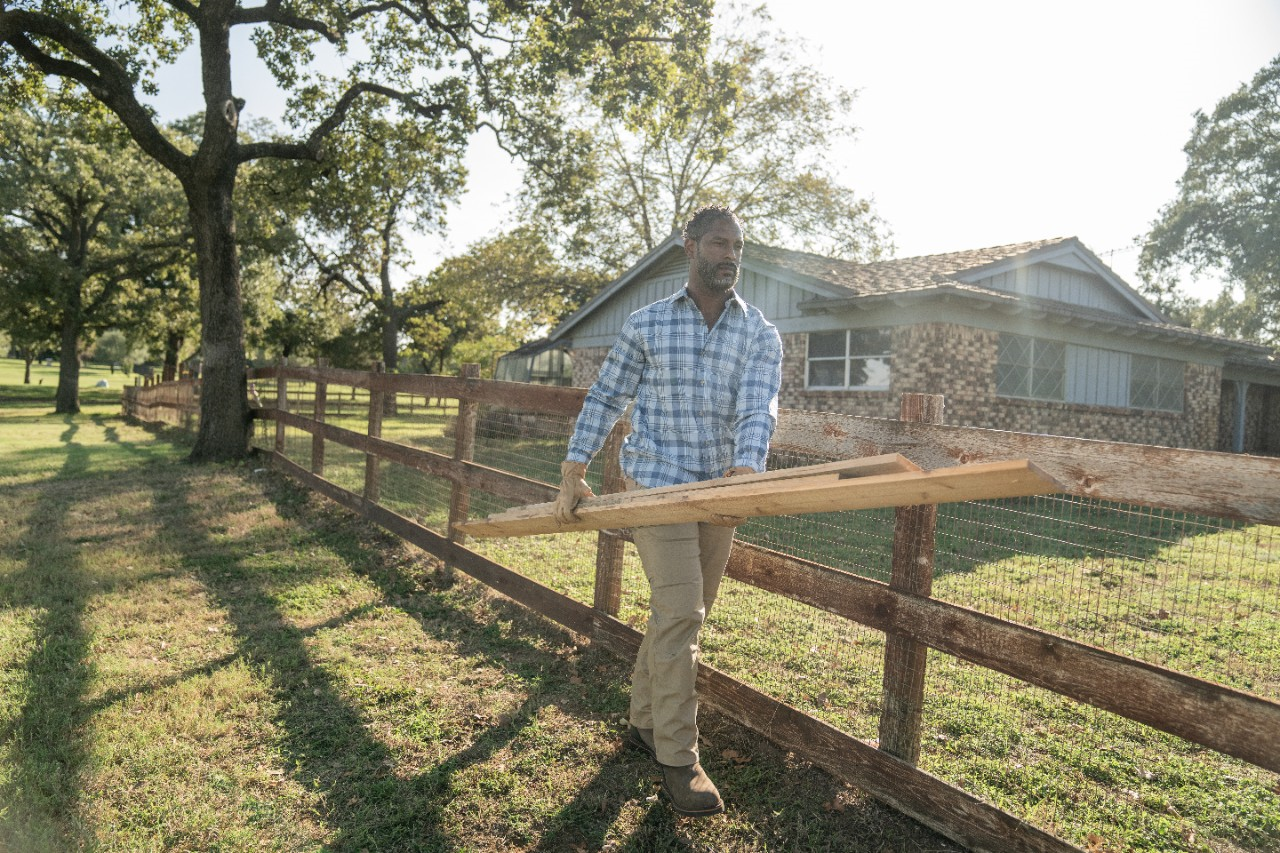
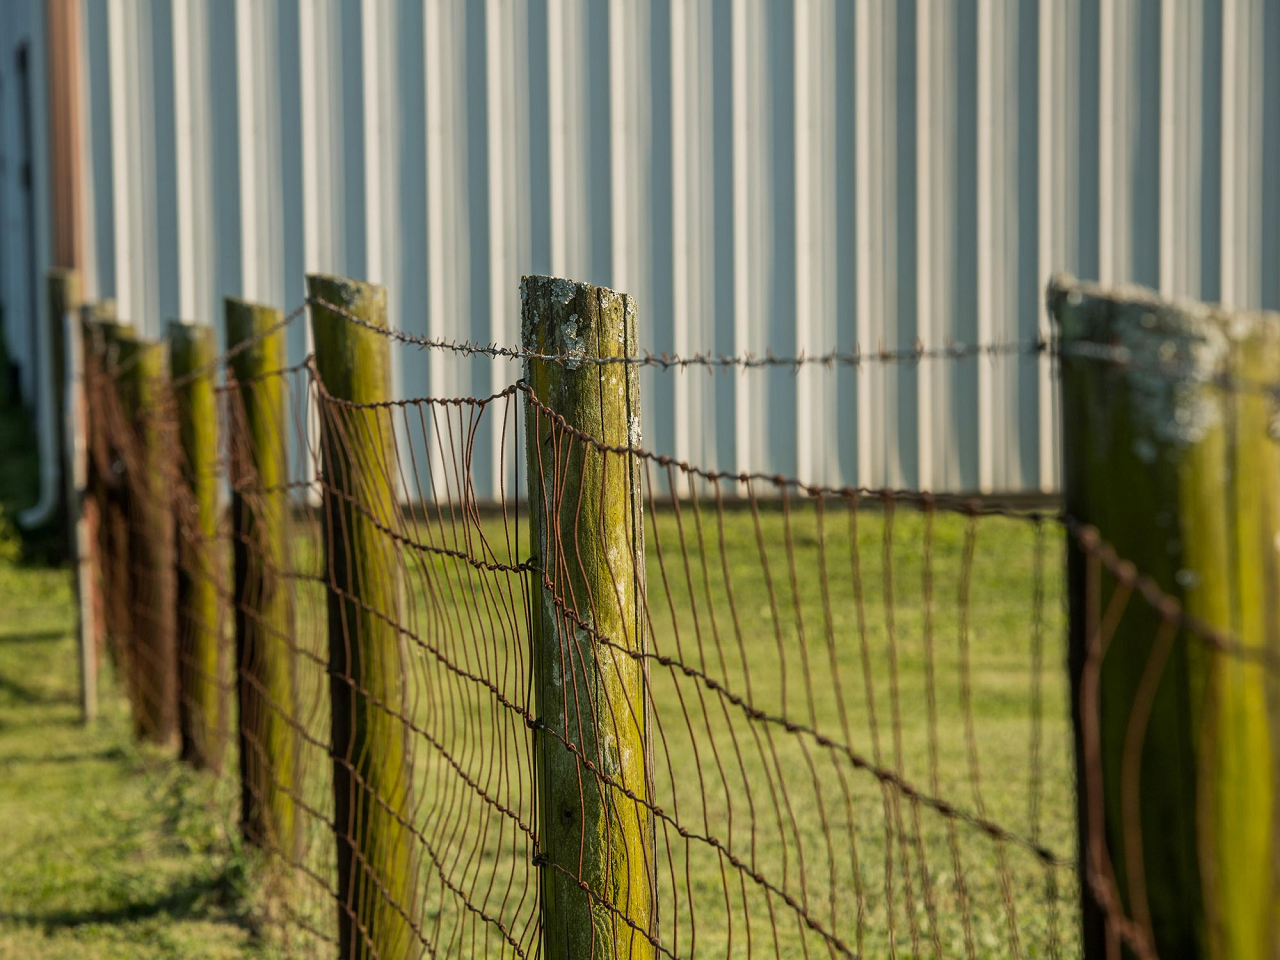
A split rail fence gives any property a rustic, natural feel. It’s a simple design where two to four rails slide into holes in the posts. They’re called split rails because they’re not sawn, like a board fence, but split from logs. They won’t confine pets or small children, but they provide a spacious appearance while marking a boundary. Because a rail fence is so simple, it’s easy to build yourself. Here we’ll look at the tools you need and the steps to building one on your property.
The first step to any fence is planning. So before digging your first hole, make sure to do the following.
You’ll need the following tools and materials to install your split rail fence.
Once you have the preliminaries out of the way, it’s time to measure where you want the fence to go and calculate the materials you’ll need to purchase. Begin by using a measuring wheel or tape to measure the linear footage of the area.
Split fence rails typically come in 11-foot lengths. To calculate materials, divide the total linear feet of the fence by 11. For instance, for a fence 200 feet long: 200/11=18.2, so you’ll need 19 posts (18.2 rounded up). Remember to determine how many will be end or corner posts. You’ll also need 19 rails per level. So, multiply that by the number of rows of rails to determine how many you’ll need. For instance, for a three-level fence, you need 19x3=57 rails.
After measuring:
Next, use spray paint to mark the placement of each fence post. The rails will overlap a few inches on each end, so measure from center to center of each post. Laying rails on the ground will help with this step. Also, mark the ground where you want to put gates.
Use a post-hole digger or gas-powered auger to dig your first few holes. Don’t go around the yard digging 20 holes, and then start putting in the posts. If you get delayed and don’t finish the job, the holes pose a tripping hazard until you can return to work. From this point forward, you’ll do one section of the fence at a time.
You want the holes to be deep enough that ⅓ of the post is in the ground and that the lowest rail is no less than 6 inches from the ground. So, dig holes 10-12 inches across and 4-6 inches deeper than you need. Then, fill the extra depth with gravel to drain water away from the post.
Some people like setting their posts in concrete, but it’s unnecessary. Tamp the gravel, then position the post with the holes in line for the rails to go in. Use a level to ensure it’s straight, then brace it while you backfill it with dirt. Tamp the soil around the post until it’s packed and the post is secure. Then remove the brace.
Use the rails to measure as you set the next post, remembering that the rails will overlap a few inches.
Once you have two posts set, insert the rails, starting with the lower rail and working your way to the top one. Make adjustments as you go. When you have one section done, set the post for the next section and continue the length of the fence.
When you get to the location of a gate, remember to use end posts. End posts have holes that don’t go all the way through. Attach the gate with hinges, using a level to ensure it’s straight.
If you can split firewood, you can split fence rails. So, if you’re short on cash and have plenty of logs, splitting rails is a rewarding experience. First, you’ll need the following:
To make the rails, you’ll split the log in half lengthwise, then into quarters or smaller, depending on the size of the log.
Start by driving a wedge into the grain end of the log with the largest diameter. Next, drive another wedge just past the end of the split made from the first wedge. Continue this way down the length of the log. As the split widens, you can remove the first wedge and use it down the way, as needed. Do this until you’ve split the log its entire length.
Next, split the two halves in half. Keep splitting until you have rails the size you need. You’ll notice that your rails will be jagged and splintery. To smooth them out, use a drawknife to remove splinters or uneven sections and taper the ends.
Find all the necessary supplies for installing your farm fence in our latest fencing and gate catalog.